Templeton Elementary School Art Literacy Program
Wassily Kandinsky Bio
Wassily Kandinsky was a Russian artist who lived from 1866 to 1944. He went to art school when he was young, then studied law and became a successful lawyer. He didn’t start to be an artist until he was 30 years old. Show figure 1, self portrait.
Blue Painting
Some people think of Kandinsky as the first Abstract artist. Abstract art is art that does not look like something does in the real world. The colors may be different, or the shape of something may be changed. If art is completely abstract, it doesn’t really look like anything you can identify. It might be a group of shapes put together in a harmonious pattern. It can be anything. Kandinsky’s early work is still representational, which means it is showing, or representing, something that you can look at and identify. The longer he worked, the more abstract his work became, until his later art was mostly interesting compositions of colorful shapes.
Odessa Port 1898
Couple Riding, 1906
Show figure 2 These are some early paintings by Kandinsky. He uses bright colors, and he doesn’t use too much realistic detail, but the figures still look quite realistic.
Church of St. Ursula
1908
Street in Murnau, 1908
Murnau Train and Castle,
1909
Winter Landscape, 1909
Show figure 3 These are paintings that Kandinsky made as he was starting to make his work more abstract. You can still see what the painting is - you can recognize the buildings and trees - but the shapes and colors are not realistic anymore.
Several Circles, 1926
On White II, 1923
Soft Hard, 1927
Composition 10, 1939
Squares with Concentric
Circles, 1913
Show figure 4 These are some of Kandinsky’s later works that show how his paintings became completely abstract. When you look at one of them for awhile you might start to see that it looks like something to you – like maybe the colored circles look like planets – but that is just what is in the mind of a person who is looking at it. Everyone might see something different. There isn’t anything in the picture that you can point at and say, “It’s a tree”, or “It’s a person.”
Kandinsky developed a lot of ideas about how shapes relate to each other, and how colors are like notes in music. Each artist has a very different vision of how composition works, and in art, there is never really a “right” and a “wrong” way of doing it. So when you create your own abstract designs, the balance of the composition just has to feel right to you.
Today we will be making colorful abstract monoprints. Usually when an artist makes prints, they make several copies of the same print, but a Monoprint is a print that the artist only makes one of.
Templeton Elementary School Art
Literacy Program
Wassily Kandinsky Monoprint Project
This project will be easier
if there is a second adult to help. All
the kids will have to take turns inking and printing their artwork, and there
needs to be help and supervision. The ink is water based and washes off hands
with water. But it may get messy.
Getting
ready
Check the
Art Lit cart for the supplies you will need.
The presentation folders and the tools should all be kept on the
carts. You will need to take a stack of
paper sheets and a bag of foam sheets from the counter.
These are the supplies you will need:
Presentation folder and art samples
Box of small jars of printing ink (12
colors, 2 of each color)
24 paint brushes
Bucket and sponges for clean up
(please use paper towels from the room you are in.)
1 printing press with a felt pad (please keep it in the box when not in use)
Bag of ballpoint pens
2 plastic trash bags to use as table
covers
A pencil to write names on prints
Take from the supply cart (the third
cart – it stays put) in the storage
room:
1 plastic bag of foam
sheets
1 stack of paper (around 90
sheets)
If you are going to a classroom, take
an old drying rack. If dry prints are
left on the drying rack, please put them into a folder. The person before you should have set a
folder with their teacher’s name by their class’s work so we can tell where it
goes.
In the
classroom, set up 2 tables or sets of desks as the area for inking. Each inking area should have one jar each of
the 12 colors, and a paint brush in each.
If you set them on a plastic trash bag it may help control the mess a
little. Ideally, 4 to 6 kids should be
able to use each inking area at once, sharing the inks. Set up the press in a spot close by. Put
the stack of paper and the pencil by the press.
Each student
starts out with just a ballpoint pen.
Don’t hand out the foam until you have talked to the kids and they are ready
for it. (The foam is easy to break, and we do not have extra for fiddly hands.)
The
Project
(Things
you might want to say to the kids are in purple.) Try to think of questions to ask the kids as you go
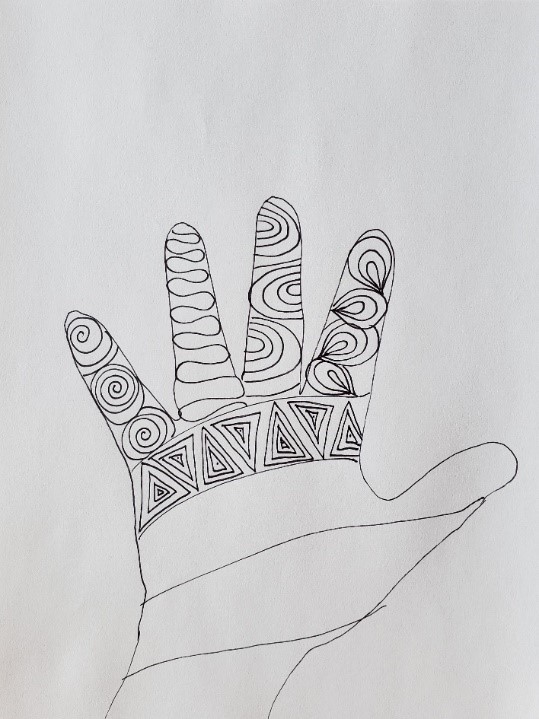
along. Present Kandinsky’s work to the
kids, then show them the samples of our project. Put the page of abstract Kandinsky work on
the docucam.
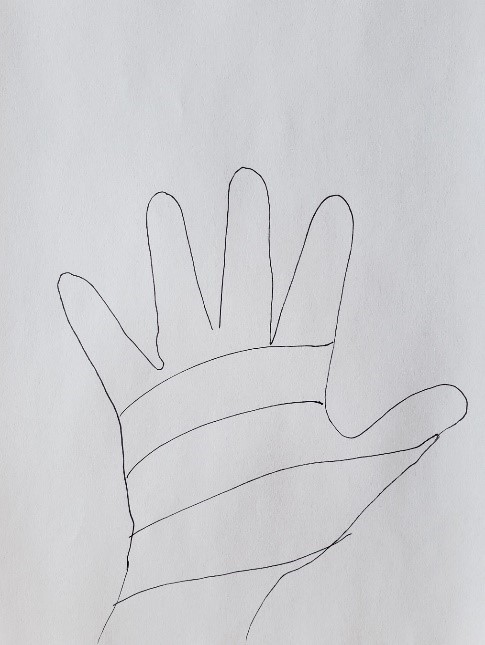
Today
we are going to make relief prints. “Relief” means a surface that has a design cut
into it. We are going to use thin sheets
of foam as our printing plates. You will
draw your design on the foam with ballpoint pens, and the pens will press a
line into the foam. The places you draw
lines will come out white, because the printing ink doesn’t go into the lines,
and the places you don’t make marks on will come out with color. The picture will also come out in reverse.
After
you have drawn your picture, you will come over to the inking area to color
them. After your picture is colored, you
will bring it to the printing press to make it into a picture.
Step 1 –
Drawing the design
Hand out the foam sheets.
The foam is not
very strong, so don’t bend it or tear it, because it will break. You could still print a torn one, but it will
be better if it’s in one piece. We are
going to think about the abstract designs Kandinsky liked to paint. Try to make a picture that is abstract. You need to draw carefully, because your
lines need to indent into the foam to make a print, but if you press too hard it
can tear.
Step 2 –
Coloring the foam print plate
When the kids have their pictures
indented into their foam sheets, bring groups of them to color their designs at
the inking tables.
Make sure to tell
them:
The
printing ink is very sticky, so you need to scrape the brush off on the edge of
the ink jar. You only want a very thin
layer of ink on your print. Globs will
not work and will make a mess on your print.
ALSO - make sure you put the brush back in the same
container it came from. Take turns with
the colors and don’t put a brush back in a different color! We don’t want the colors to get dirty and
muddy from other colors getting into them.
Please try
to supervise so we don’t waste ink, and so the colors don’t get too
muddied. The classes that do the project
after you are depending on you.
Step 3 –
Printing the colored plate on the press -
Presenters:
Please supervise and don’t let the press be
too close to the edge of a table. Last
year one press was bent somehow – probably from being knocked onto the floor –
and it is harder to use now. Also notice
that the paper has to be positioned along one edge of the press to be under the
part that presses down.
When
the picture is inked, bring it to the press.
Put a piece of paper onto the press, then carefully lay your inked
picture upside down on the paper. Try to
get it centered. Don’t move it around
once it is on the paper, or you will get a smudged print. Now lay the felt pad on top of the foam
sheet, and press the print. Watch out
for your fingers. Press the handle down
firmly, but not too hard. You don’t have
to put all your weight on it. We don’t
want to break the press.


.jpg!Large.jpg)
